This was a wine box - I had kept it for ages thinking I must do something with it. I decided to paint it (I did paint it all over, but these pictures only have the lid done) with Paper Artsy fresco paints. I used Chalk all over it, then I used Turquoise to distress it - I used the Ally Reeves technique of using a sponge (I bought a well known supermarkets own brand of washing up sponges - 11p for five!). Then I stamped it with Jo Firth Young's beautiful stamps - seeing them made me think of doing this box with them - and I coloured them with distress markers. Once the box was finished, I coated it with a spray (Americana Sealer/Finisher) to seal it. I managed to sell this at a Craft Fair so now I am keen to see what else I can find round the house or garage to alter.....
Sunday, 25 January 2015
Hobby Art Stamps - reindeer and robin
These were snow globes - the kind you buy to put your photos in. I decided to stamp and watercolour these - I used the Hobby Art Stamps to do both sides. I meant to enter these for the Hobby Art challenge in December, but when I tried to do it, I had computer problems. These are probably not the best photos, but I took them at a craft fair at Denbies.
Clarity trees stamp
It's been a while since I blogged... I have started doing craft fairs, and don't always think to take a picture of everything. This is a stamped picture on a Gelli plate - makes it so easy to get reflections! This is one I did at the Clarity Stamps workshop run by Barbara Gray last July. We just did the artwork, but I decided to put it in a frame - couldn't bear the thought of putting it on a card and having someone throw it out after the event. You stamp it onto the Gelli plate (using Adirondack inks) and then add the water/ sky/ sunshine using inks and a brush.
Wednesday, 20 August 2014
Backgrounds
Christmas backgrounds - we made these at the Christmas club at the Craft Barn. Use inks, I think we used distress ink and distress stains, and use a brayer to paint them on to card. You are meant to put a little bit on and you need to get the look of it fading out.... (ie don't cover your brayer in ink and try to get a smooth line). Just keep going with different inks. Then you can print a script in gold or silver ink on it (I used red on the red one) - it's meant to be faint. Spray with gold or silver to finish. I used Treasure Gold in silver round the edge too. Then I just used die cut shapes from mirror card to put in the middle - I love the background so no need to put too much on it.
Tuesday, 12 August 2014
Little Claire Stamps
I bought these little stamps at the Biggin Hill show back in May - really useful with this background paper. I was trying out my Gelli plate, but used paper to print onto instead of card. Once done, I used a stamp (the Jo Firth Young one of snowflakes) and also put glitter on. I put it everywhere because much more came out of the bottle than I thought! (I used Stickles glue.) I then decided I needed something simple to put on top - and the snowman stamp doesn't need many colours on it, either.
Tuesday, 5 August 2014
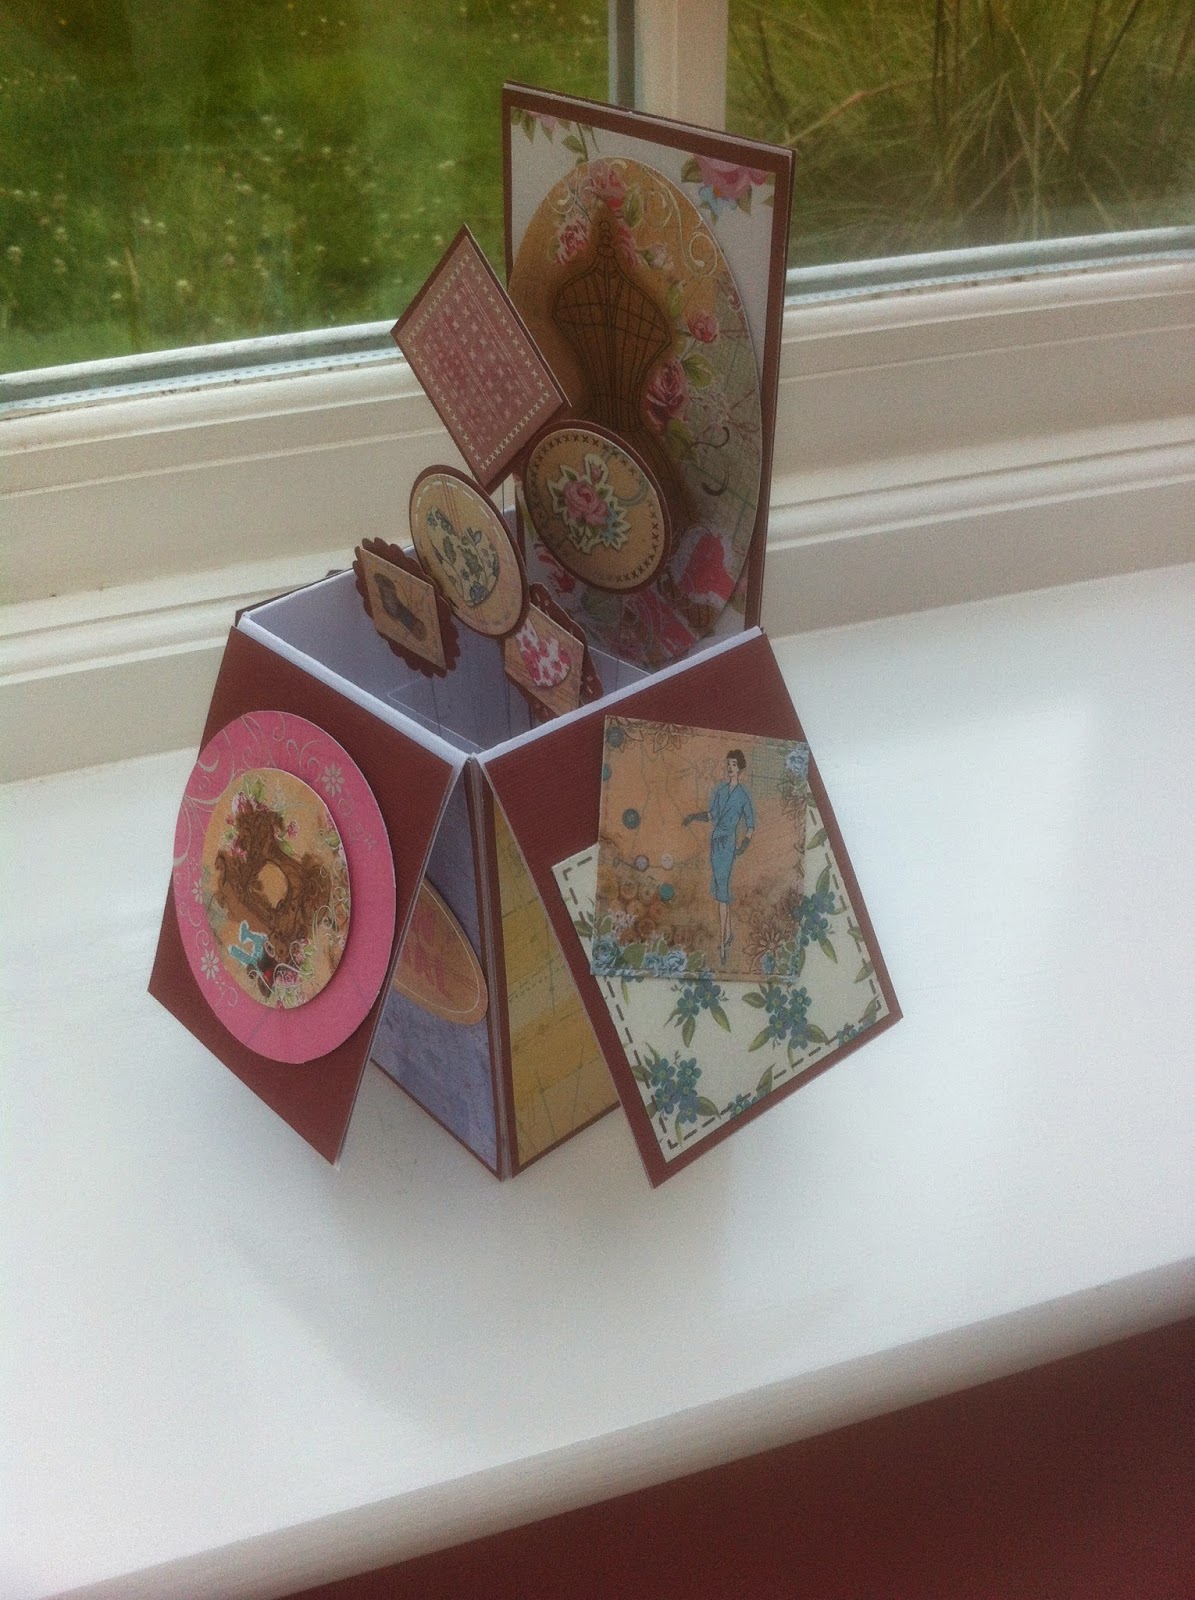
Pop up card
These seem to be very popular at the moment - I made it with a free gift from one of the cardmaking magazines (sorry, cannot remember which one) - the aspire crafts "Sew Pretty" range. Used the free papers and the bits provided, I only had to add a 12 x 12 inch sheet of claret coloured paper as a backing.
Friday, 1 August 2014
Penny Black Stamp
I thought I might frame this rather than put it on a card - it's a Penny Black stamp, which I coloured with my Copics. I'm now quite impressed with my colouring - I decided to go with Copics after my husband looked at a Christmas card I made a few year's ago using Copic pens, and wondered who had sent us a Christmas card so early. If he couldn't work out I had coloured it, I decided they were the pens to go for!!
Subscribe to:
Posts (Atom)