Tuesday, 8 April 2014

Woodware stamp on a tile

This is a tile we made at the Christmas Club at the Craft Barn.  We made 4 tiles, but I am really pleased with this one - Chris Dark, the tutor, brought some stamps in for us, but then she said use anything you want ......  had one look in the Christmas stamps drawer and found this.  Not sure I'd have bought this for a Christmas Card, but it's lovely for a tile.

We made this in really the same way you do a stampboard tile, but instead of using inks we used paint.  Paint the tile - 2 layers  - and then use a pale shade of distress ink to put the stamp on.  Then use paints to colour the bits you need coloured.  On this one, I used white paint for the beards, green paint for their headgear, gold paint for the jars and the star, then a tiny bit of red and some pale blue.  It's quite difficult to paint everything, so no need to fill in every bit of clothing.  When the paint is dry (doesn't take long) use black archival or staz-on to stamp the stamp on over the top.  This tends to be a lot easier with see through stamps, as you have slightly more of a clue where to put the stamp.... but I did 2 at home with non see through stamps and they were fine.

Then cut a square of felt to go on the bottom so that they don't catch (and if you drop them and break them, you at least have a chance of keeping them together!)


Tuesday, 18 February 2014

Funky Kits stamp

Funky Kits Stamp - this is part of a set I bought a little while ago, which was a great bargain - cost me £1 per stamp.  This is by far my favourite one.

I am entering this for the Funky Kits challenge this month - we were given colours to use so I had to find backing papers in those colours - and then I didn't want to use flowers on it, so I then remembered I had Sizzix dies of the scissors, cotton reel and needle.  I then went through ribbons to find ones that matched..... I thought the ric rac went well, and then I coloured the large ribbon with my Copic Marker as I didn't have anything in dark grey.

Monday, 3 February 2014

Hobby Art Stamps - part 2

This is part 2 of the Hobby Arts workshop......  for the top one, we embossed the card first and then added the bits on top (the embossing folder doesn't quite cover the whole card, so you need a layer on top).  There is also a bit inside - which I obviously forgot to take a photo of - saying Merry Christmas, with the holly and the log on it. 

The second one I really liked best...  Just watercoloured it and added Wink of Stella pens (the clear one) - if you haven't seen them yet, they are a great way of adding glitter without using glitter (not my favourite thing....).  Not sure whether you will see that on the photo though. 


Wednesday, 29 January 2014

Hobby Art stamps - snowmen

More Christmas stamps - I went to a Jenny Mayes class at the end of October (yes, it has taken me ages to download these from my phone) and we did Christmas cards.  These two were great for special cards - as usual, you think you're going to do something really nice, and then Christmas posting dates get closer and closer and you need to use something you have already made. 

More coming up tomorrow......

Tuesday, 28 January 2014

Hobby Art Stamps

It's been a while since I blogged.... was busy during December and forgot to take photos of a lot of the Christmas stuff I made.  This stamp from Hobby Art was a lifesaver.... I did loads of cards from this stamp.  Doesn't take a lot of colouring, and so easy to cut out.  Much as I like making cards that take a lot of time, I don't have quite as much time to do that at Christmas.....

Thursday, 10 October 2013

Penny Black Stamps

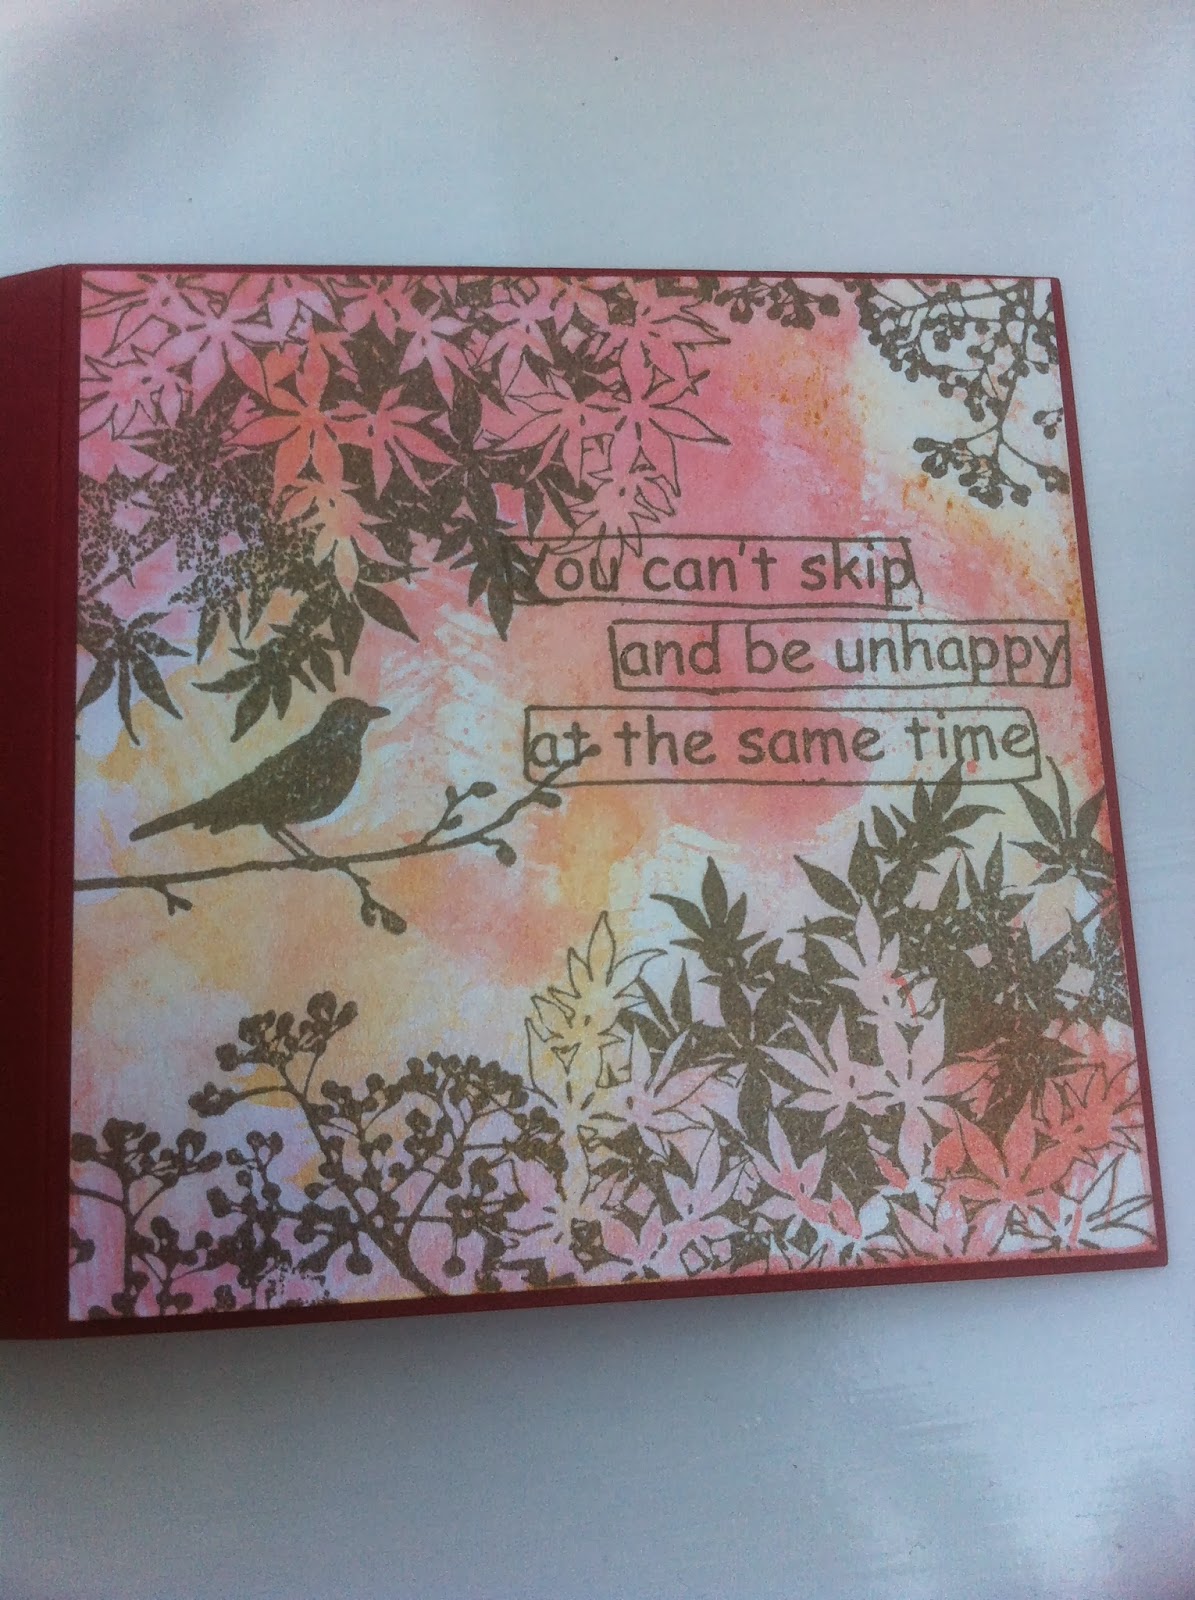
I was so pleased with this one - I'd bought the Penny Black "tweet tweet" set specifically for the leaves and foliage.  The card underneath was coloured using inkpads left over on my splodgeaway mat - just spray water over and run it through.  I let it dry naturally but you could do it with a heat gun.  Then I stamped leaves/ plants over it and the bird from the same set.  The wording is from a Dyan Reaveley set of stamps - I hadn't planned it, so I had to find something that fitted the space left!